个人笔记,仅供参考
一、头像上传 (后端待补充)
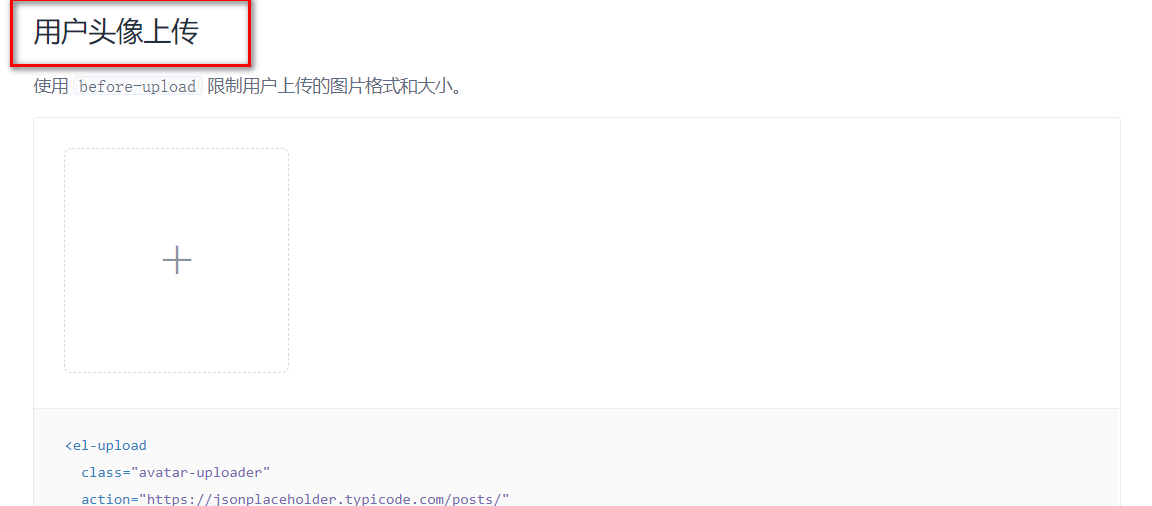
前端整合 参考 根据element-ui提供的用户头像上传 示例代码进行修改。https://element.eleme.cn/2.4/#/zh-CN/component/upload
说明 el-upload组件
action属性
:on-success=”handleAvatarSuccess”
:before-upload=”beforeAvatarUpload”
img标签
i标签
style标签
script标签
思路
上传校验->上传->图片地址赋值给teacher.avatar->重新渲染页面->img标签展示
修改后 1 2 3 4 5 6 7 8 9 10 11 12 13 14 15 16 17 18 19 20 21 22 23 24 25 26 27 28 29 30 31 32 33 34 35 36 37 38 39 40 41 42 43 44 45 46 47 48 49 <template> <div class="app-container"> <!-- 输入表单 --> <el-form label-width="120px"> <el-form-item label="讲师头像"> <el-upload :show-file-list="false" :on-success="handleAvatarSuccess" :before-upload="beforeAvatarUpload" class="avatar-uploader" action="http://localhost:8120/admin/oss/file/upload?module=avatar"> <img v-if="imageUrl" :src="teacher.avatar" class="avatar"> <i v-else class="el-icon-plus avatar-uploader-icon"/> </el-upload> <!-- 省略部分代码 --> </el-form> </div> </template> <script> import teacherApi from '@/api/teacher' export default { // ... methods: { // ... beforeAvatarUpload(file) { const isJPG = file.type === 'image/jpeg' const isLt2M = file.size / 1024 / 1024 < 2 if (!isJPG) { this.$message.error('上传头像图片只能是 JPG 格式!') } if (!isLt2M) { this.$message.error('上传头像图片大小不能超过 2MB!') } return isJPG && isLt2M }, handleAvatarSuccess(response) { this.teacher.avatar = response.data.url // 强制渲染 this.$forceUpdate() } } } </script> <style> /* 省略 */ </style>
二、异常处理 1.自定义异常 1.1统一异常处理方式
异常处理器分别捕获不同异常,进行处理(规定错误信息)
try-catch捕获不同异常,抛出自定义异常(规定错误信息),由异常处理器进行捕获
1.2做法 1.2.1自定义异常类GuliException
包:com.atguigu.guli.service.base.exception
<1>属性 :根据枚举类ResultCodeEnum规定
success:异常处理器处理时规定
message:父类中有定义。
code:为GuliException增加一个属性
<2>构造器 :
接收状态码和消息
接收ResultCodeEnum
<3>toString方法 :
重写toString()打印时包含消息信息
1 2 3 4 5 6 7 8 9 10 11 12 13 14 15 16 17 18 19 20 21 22 23 24 25 26 27 28 29 30 31 32 33 34 35 36 package com.atguigu.guli.service.base.exception;import com.atguigu.guli.common.base.result.ResultCodeEnum;import lombok.Data;@Data public class GuliException extends RuntimeException { private Integer code; public GuliException (Integer code,String message) { super (message); this .code = code; } public GuliException (ResultCodeEnum resultCodeEnum) { super (resultCodeEnum.getMessage()); this .code = resultCodeEnum.getCode(); } @Override public String toString () { return "GuliException{" + "code=" + code + ",message=" + super .getMessage() + '}' ; } }
1.2.2异常处理方法
GlobalExceptionHandler.java
1 2 3 4 5 6 @ExceptionHandler(GuliException.class) @ResponseBody public R error (GuliException e) { log.error(ExceptionUtils.getMessage(e)); return R.error().message(e.getMessage()).code(e.getCode()); }
1.2.3打印异常信息 catch原有异常后打印异常信息,再抛出自定义异常。
FileController.java
1 2 3 4 5 6 7 8 9 10 11 12 13 14 15 16 17 18 @ApiOperation("文件上传") @PostMapping("/upload") public R upload ( @ApiParam(value = "文件", required = true) @RequestParam("file") MultipartFile file, @ApiParam(value = "模块", required = true) @RequestParam("module") String module ) { String url = null ; try { InputStream is = file.getInputStream(); String originalFilename = file.getOriginalFilename(); url = fileService.upload(is, module , originalFilename); } catch (Exception e) { log.error(ExceptionUtils.getMessage(e)); throw new GuliException (ResultCodeEnum.FILE_UPLOAD_ERROR); } return R.ok().data("url" ,url); }
2.前端错误处理 前端上传头像要处理两种错误,一种是http失败,另一种是http成功但业务操作失败。
el-upload的on-error钩子函数会在http错误后自动调用
1 <el-upload :on-error="handleAvatarError">
1 2 3 handleAvatarError ( this .$message .error ('Http请求发送失败,请稍后重试' ) }
判断返回的R对象中success的值。
true表示上传成功,false表示上传失败。
1 2 3 4 5 6 7 8 9 10 handleAvatarSuccess (response ) { console .log (response) if (response.success ) { this .teacher .avatar = response.data .url this .$forceUpdate() } else { this .$message .error ('文件上传失败' ) } }
三、批量删除 1.后端
TeacherController.java
1 2 3 4 5 6 7 8 9 10 @ApiOperation(value = "根据id列表删除讲师") @DeleteMapping("batch/remove") public R batchRemove (@ApiParam("讲师id列表") @RequestBody List<String> idList) { boolean result = teacherService.removeByIds(idList); if (result){ return R.ok().message("删除成功" ); }else { return R.error().message("数据不存在" ); } }
2.前端
参考文档:https://element.eleme.cn/#/zh-CN/component/table
2.1思路 将过程分为两个路线去走:
2.2代码 2.2.1路线一
多选框: 手动添加一个el-table-column,设type属性为selection
1 <el-table-column type ="selection" width ="55" />
1 <el-table :data ="list" border stripe @selection-change ="handleSelectionChange" > </el-table >
selection-change:当选择项发生变化时会触发该事件,接收参数为选中的多选框
1 2 3 4 5 6 data : function ( return { multipleSelection : [] } }
1 2 3 handleSelectionChange (selection ) { this .multipleSelection = selection }
2.2.1路线二
1 2 3 <div style ="margin-bottom: 10px;" > <el-button type ="danger" size ="small" plain @click ="batchRemove" > 批量删除</el-button > </div >
1 2 3 4 5 6 7 8 9 10 11 12 13 14 15 16 17 18 19 20 21 22 23 24 25 26 27 28 29 30 31 32 batchRemove ( const idArray = [] this .multipleSelection .forEach (item => idArray.push (item.id ) }) this .$confirm('此操作将永久删除这些数据, 是否继续?' , '提示' , { confirmButtonText : '确定' , cancelButtonText : '取消' , type : 'warning' }).then (() => { return teacherApi.batchRemove (idArray) }).then ((response ) => { this .fetchData () this .$message({ type : 'success' , message : response.message }) }).catch ((error ) => { console .log (error) if (error === 'cancel' ) { this .$message({ type : 'info' , message : '已取消删除' }) } }) }
teacher.js
1 2 3 4 5 6 7 batchRemove (idList ) { return request ({ url : '/admin/edu/teacher/batch/remove' , method : 'delete' , data : idList }) }
四、自动完成(输入建议)
参考文档:https://element.eleme.cn/#/zh-CN/component/input
1.需求 每输入一个字符后,在下方列出建议。
2.说明 el-autocomplete组件是一个可带输入建议的输入框 组件
:fetch-suggestions=”querySearch”
函数引用时传递两个参数queryString, callback
queryString:输入框中输入的文字
callback:回调函数,输入建议数据准备好时通过 callback(data) 返回到 autocomplete 组件中
value-key
根据关键字查询出的数据封装到对象数组中,value-key指定选择展示对象中那个属性
value-key=”name”
3.代码 后端代码
1 2 3 4 5 6 7 8 9 10 @ApiOperation("根据id获取讲师信息") @GetMapping("/get/name-list/{key}") public R getNameListByKey (@ApiParam(value = "查询字符串", required = true) @PathVariable String key) { List<Map<String,Object>> nameList = teacherService.getNameListByKey(key); return R.ok().data("nameList" ,nameList); }
1 List<Map<String,Object>> getNameListByKey (String key) ;
1 2 3 4 5 6 7 8 9 @Override public List<Map<String, Object>> getNameListByKey (String key) { QueryWrapper<Teacher> queryWrapper = new QueryWrapper <>(); queryWrapper.select("name" ); queryWrapper.likeRight("name" ,key); return baseMapper.selectMaps(queryWrapper); }
前端代码
1 2 3 4 5 6 7 8 9 10 11 12 <el-form-item > <el-autocomplete v-model ="searchObj.name" :fetch-suggestions ="querySearch" :trigger-on-focus ="false" class ="inline-input" placeholder ="讲师" value-key ="name" /> </el-form-item >
1 2 3 4 5 querySearch (queryString, callback ) { teacherApi.getNameListByKey (queryString).then (response => callback (response.data .nameList ) }) }
1 2 3 4 5 6 getNameListByKey (key ) { return request ({ url : `/admin/edu/teacher/get/name-list/${key} ` , method : 'get' }) }


